
This tutorial is about fixing portraits and is meant for use with GraphicsGale, so if you don't have it go to Google to find it.
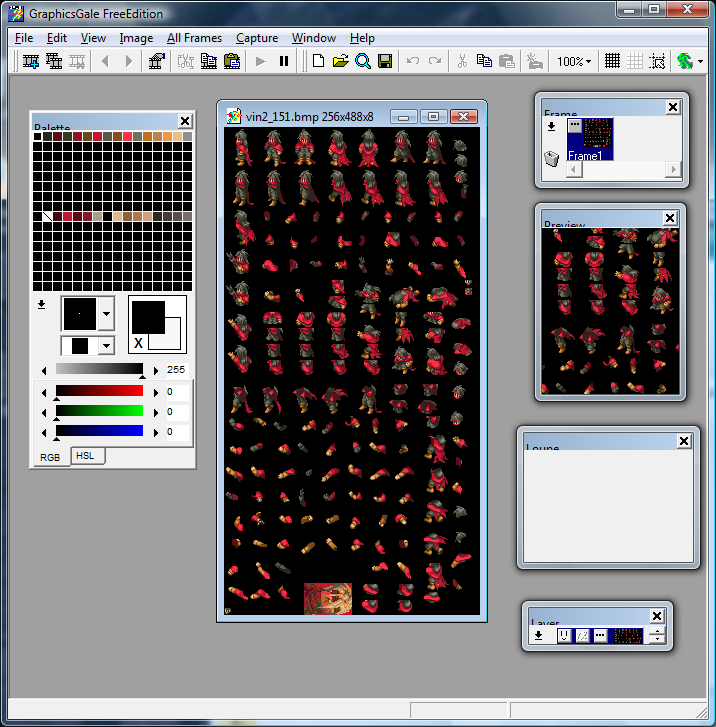
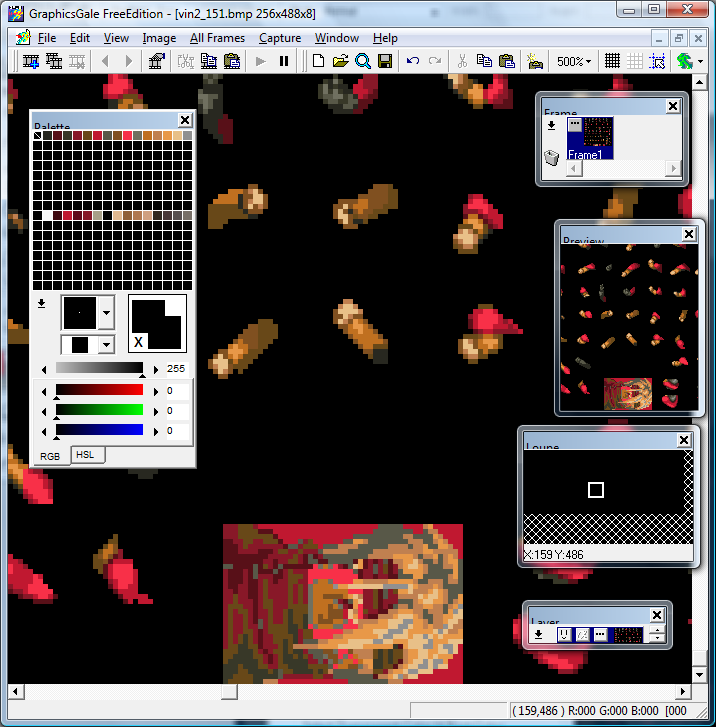
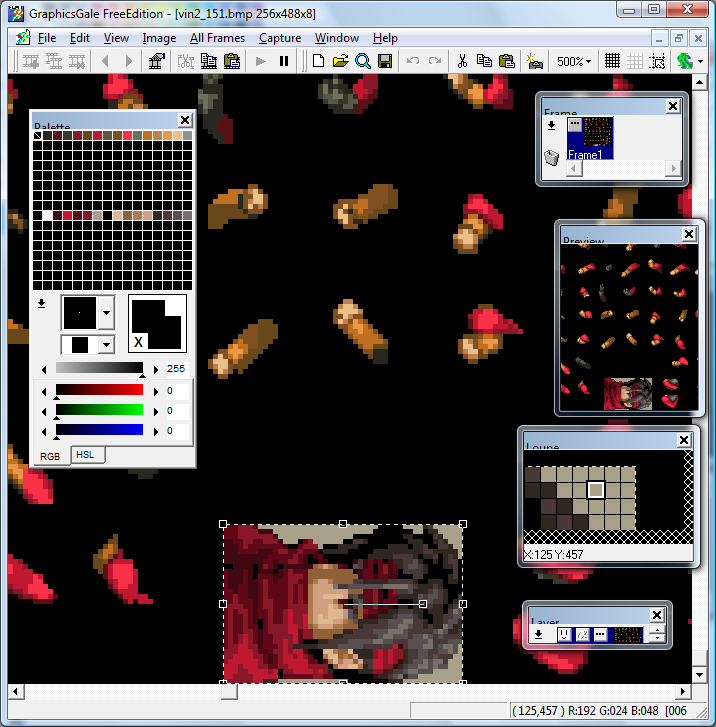
Alright, this is our first screenshot. I've opened Graphics Gale and a sprite I just saved, note that the portrait already looks wacky--I'll explain that in a minute.
In this screenshot I've highlighted the Palette Window. Note the numbers on the side, those are the palette numbers. Row 1 is the first palette for the sprite, Row 2 is the second, and so on. Row 9 is the first palette for the portrait. So Row 1's colors go for the sprite and Row 9's go for that sprite's portrait. Basically 8 rows below the sprite, you'll find the portrait color. So Row 2 goes with A (which is technically the 10th row), and Row 3 goes with B, and so on, and so forth, until Row 9 which goes with Row 1, since it is the first row of colors for the first portrait.

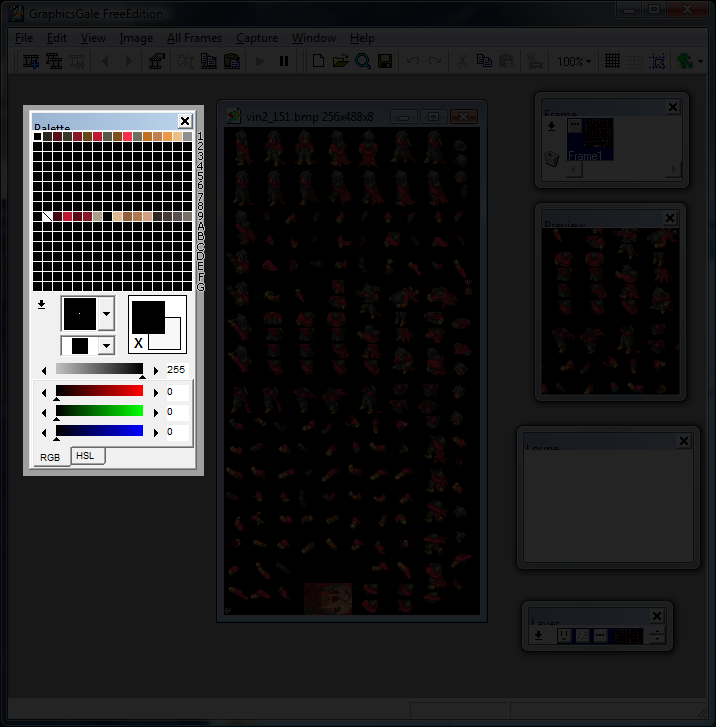
Chances are that right now your portrait looks like the one here. This is normal. What's happening is that the portrait is using the 16 colors in the first row to color the portrait. Now I'll explain how to fix this.
Step 1: First hit this icon to get the following screenshot.
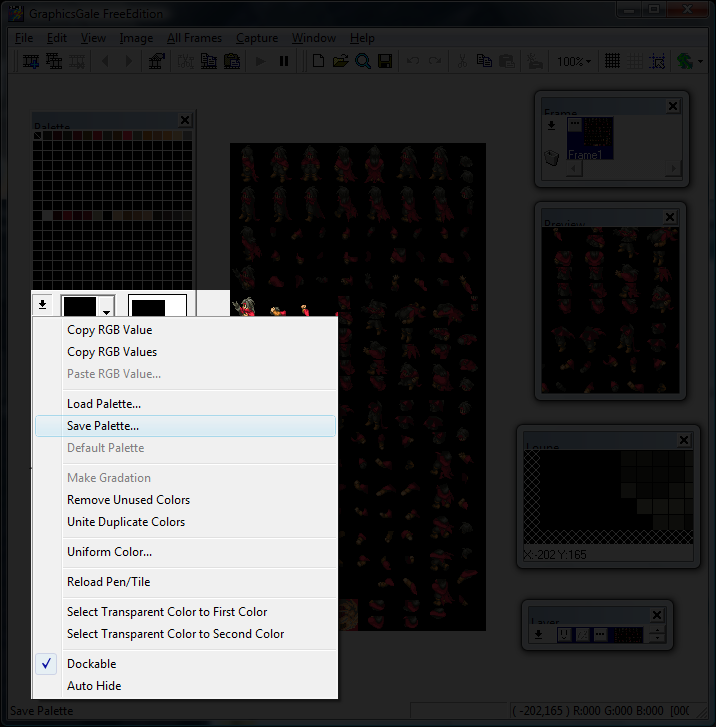
Step 2: Now hit Save Palette, as shown above.
Step 3: Now save the palette as whatever you'd like. This is just to have a backup of the sprite's palette. If you have colors in Rows 2-G this step is unnecessary. In fact, this and the following two steps may not be necessary at all...Someone correct me on this, I'll edit the tutorial.
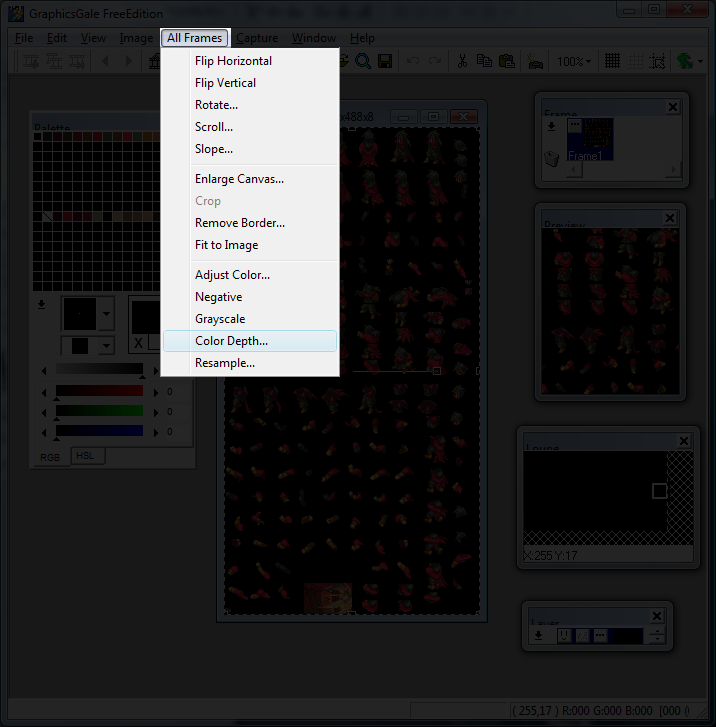
Step 4: Now hit All Frames on the Menu Bar, then scroll to Color Depth.
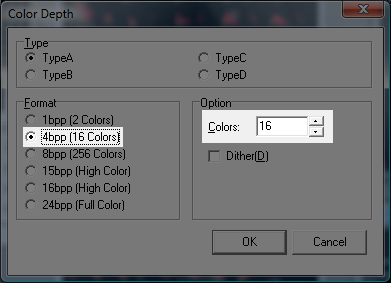
This is the Color Depth Window.
Step 5: Under Format hit 4bpp (16 colors) and on the left, under Option, make sure colors is set to 16. Now hit OK.
Now it's time to fix the portrait. Hopefully you already have the portrait cropped out as a separate BMP with the correct palette. If not, proceed to do so.

Now we've opened up the portrait.
Step 6: Make sure it's set to the right color depth (4bpp). If you've forgotten how to do this, look back at Steps 4 and 5.
Step 7: Now proceed to redo Steps 1-3.
Step 8: Now Select All and hit Copy.
Step 9: Go back to the Sprite.
Step 10: If you lowered the Color Depth, set it to 8bpp. If not, skip to the next step.
Step 11: Hit the icon again. Now it's time to load the portrait's palette.

This is the Load Palette Window.
Step 12: Hit Import From File.
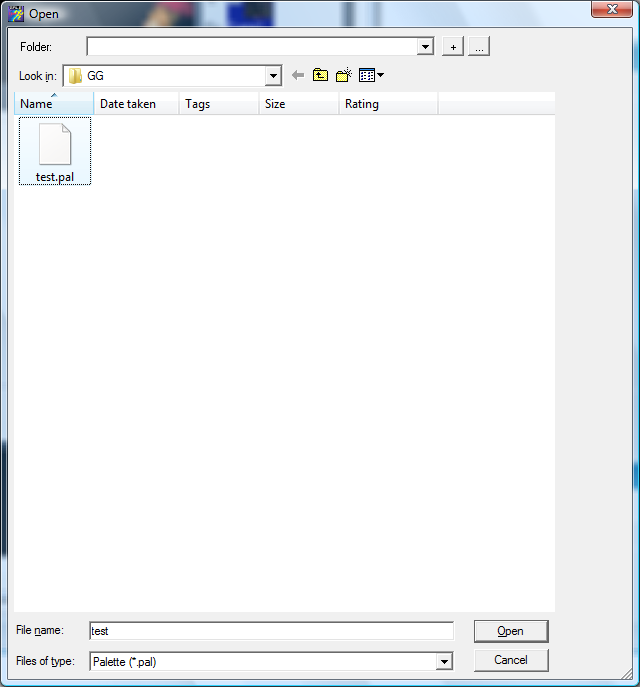
Step 13: Load the .pal that you saved previously.
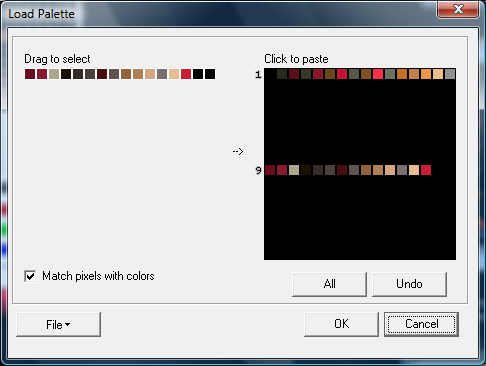
This is the [other] Load Palette Window.
Step 14: Drag across the palette on the left. And hover over the 9th slot, left-click to Paste and Hit "OK".
Step 15: Now Paste that portrait right on top of the old one.
Before.
After.
Step 16: Save the BMP and import into Shishi.
Tips and Miscellaneous Information
Alright, this is our first screenshot. I've opened Graphics Gale and a sprite I just saved, note that the portrait already looks wacky--I'll explain that in a minute.
In this screenshot I've highlighted the Palette Window. Note the numbers on the side, those are the palette numbers. Row 1 is the first palette for the sprite, Row 2 is the second, and so on. Row 9 is the first palette for the portrait. So Row 1's colors go for the sprite and Row 9's go for that sprite's portrait. Basically 8 rows below the sprite, you'll find the portrait color. So Row 2 goes with A (which is technically the 10th row), and Row 3 goes with B, and so on, and so forth, until Row 9 which goes with Row 1, since it is the first row of colors for the first portrait.
Chances are that right now your portrait looks like the one here. This is normal. What's happening is that the portrait is using the 16 colors in the first row to color the portrait. Now I'll explain how to fix this.
Step 1: First hit this icon
to get the following screenshot. Step 2: Now hit Save Palette, as shown above.
Step 3: Now save the palette as whatever you'd like. This is just to have a backup of the sprite's palette. If you have colors in Rows 2-G this step is unnecessary. In fact, this and the following two steps may not be necessary at all...Someone correct me on this, I'll edit the tutorial.
Step 4: Now hit All Frames on the Menu Bar, then scroll to Color Depth.
This is the Color Depth Window.
Step 5: Under Format hit 4bpp (16 colors) and on the left, under Option, make sure colors is set to 16. Now hit OK.
Now it's time to fix the portrait. Hopefully you already have the portrait cropped out as a separate BMP with the correct palette. If not, proceed to do so.
Now we've opened up the portrait.
Step 6: Make sure it's set to the right color depth (4bpp). If you've forgotten how to do this, look back at Steps 4 and 5.
Step 7: Now proceed to redo Steps 1-3.
Step 8: Now Select All and hit Copy.
Step 9: Go back to the Sprite.
Step 10: If you lowered the Color Depth, set it to 8bpp. If not, skip to the next step.
Step 11: Hit the
icon again. Now it's time to load the portrait's palette. This is the Load Palette Window.
Step 12: Hit Import From File.
Step 13: Load the .pal that you saved previously.
This is the [other] Load Palette Window.
Step 14: Drag across the palette on the left. And hover over the 9th slot, left-click to Paste and Hit "OK".
Step 15: Now Paste that portrait right on top of the old one.
Before.
After.
Step 16: Save the BMP and import into Shishi.
Tips and Miscellaneous Information
- As far as I know, for all the sprites (first eight rows) the first color on each of those rows has to be black (R:000 G:000 B:000) for transparency's sake. This is not necessary for portraits.
- It has been suggested that the RGB (Red, Green Blue) values on the sprite's colors need to be multiples of 8 (possibly 4), else the game will approximate to the next closest value. The result may be a seemingly discolored sprite. This restriction is not placed on portraits.
- On that note, I strongly advise against making your own colors for sprites: borrow from existing sprites to keep the flow natural. Even experienced spriters have a hard time with this.
- Having the same color on multiple columns in one row will result in the sprite having less than 16 colors total. For example, if the values for 00h and 01h (the first two color entries on the palette) are both black you will only have 15 colors. This may result in the sprite loading improperly in-game.
- For those making portraits from scratch, I would suggest to simply cut out the portrait from the base and start your new portrait in a separate file. The dimensions should be 32 x 48. Have your Color Depth set to 4bpp, start with a background color and utilize the remaining 15 to draw and shade the portrait. Once the portrait is complete, rotate it 270 degrees, save the palette, load the portrait's palette onto the sprite sheet, and copy the portrait over to correct spot on the sprite sheet (which should be set to a color depth of 8bpp).